Custom Navigation Transitions, Part II: A Simple Modal
This is the second in a series on navigation transitions. In the first post, we simplified the API by ignoring most of it, and just composing a few parts.

Today, we’ll review the implementation in Locket Photos of a custom navigation transition: a simple, self-contained modal transition. (We’ll get into a much-more-complex transition in a future post.)
You can download the source code here..
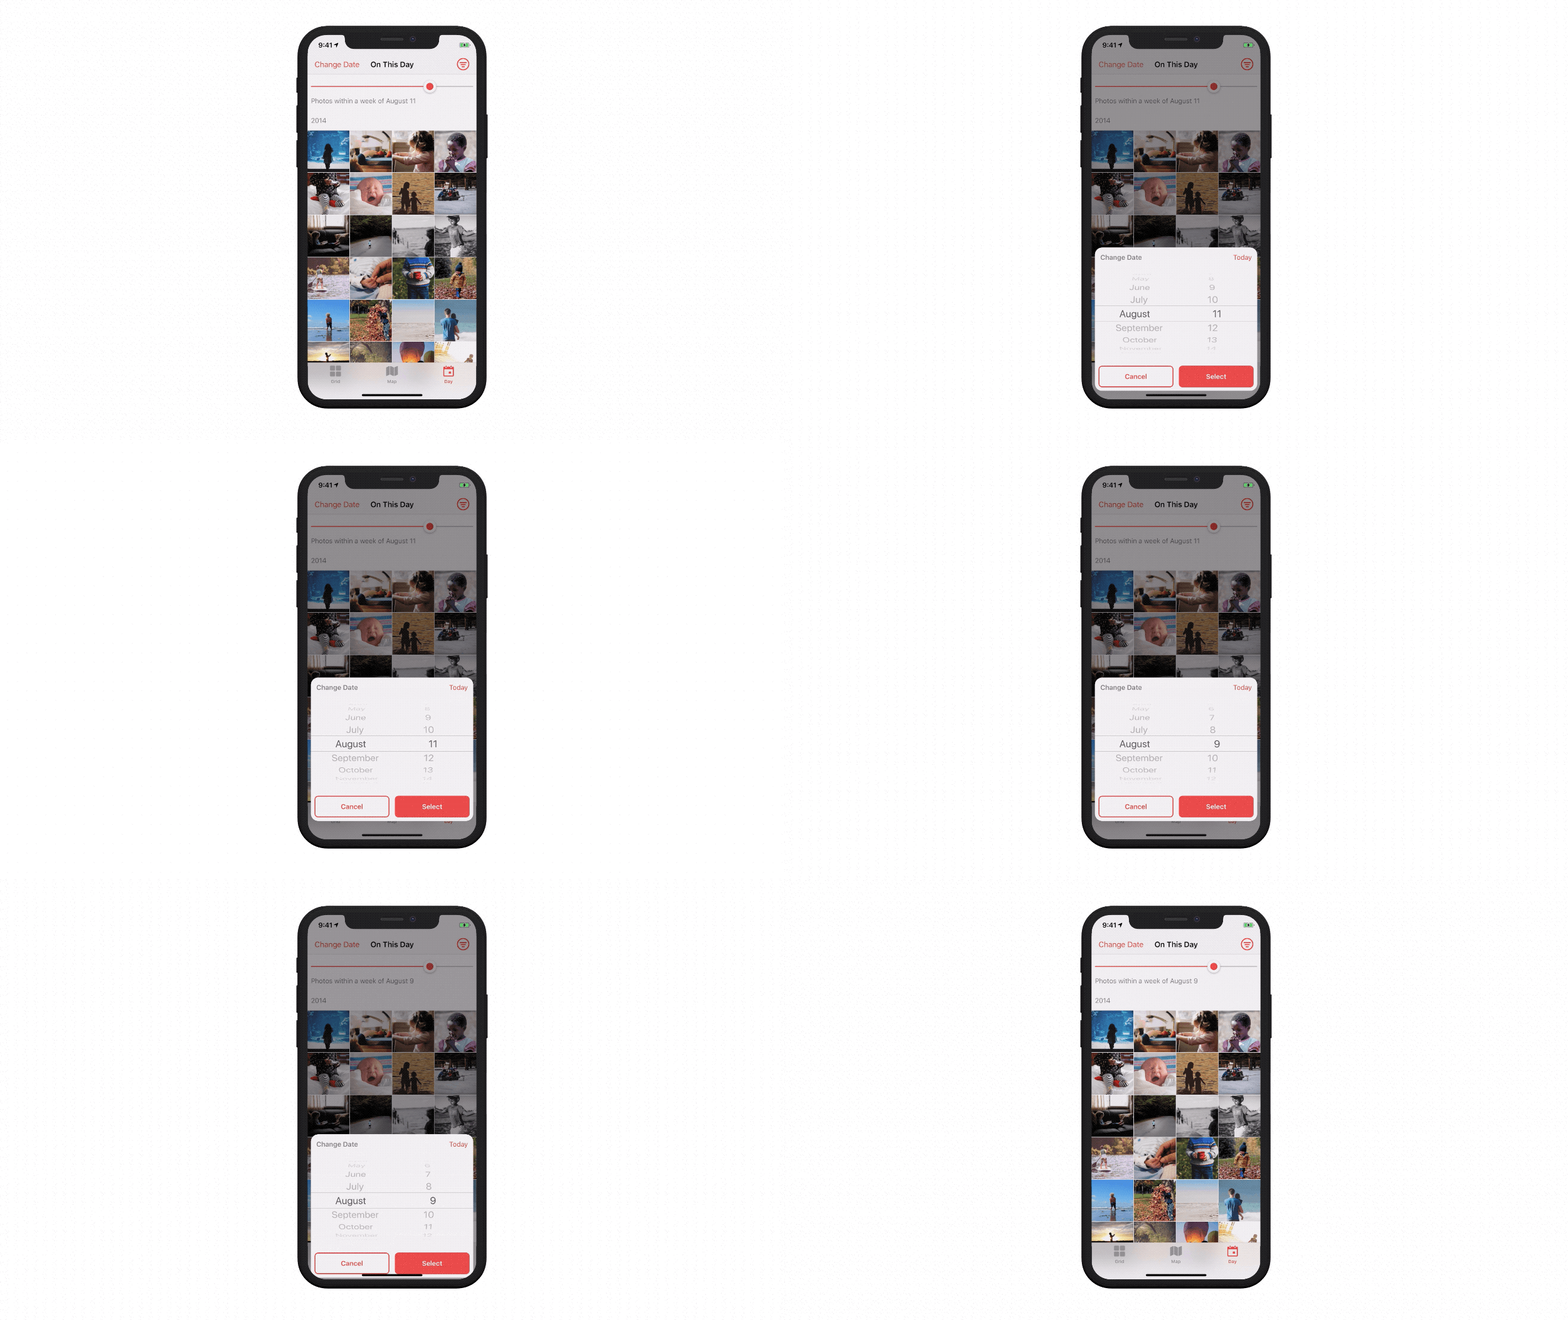
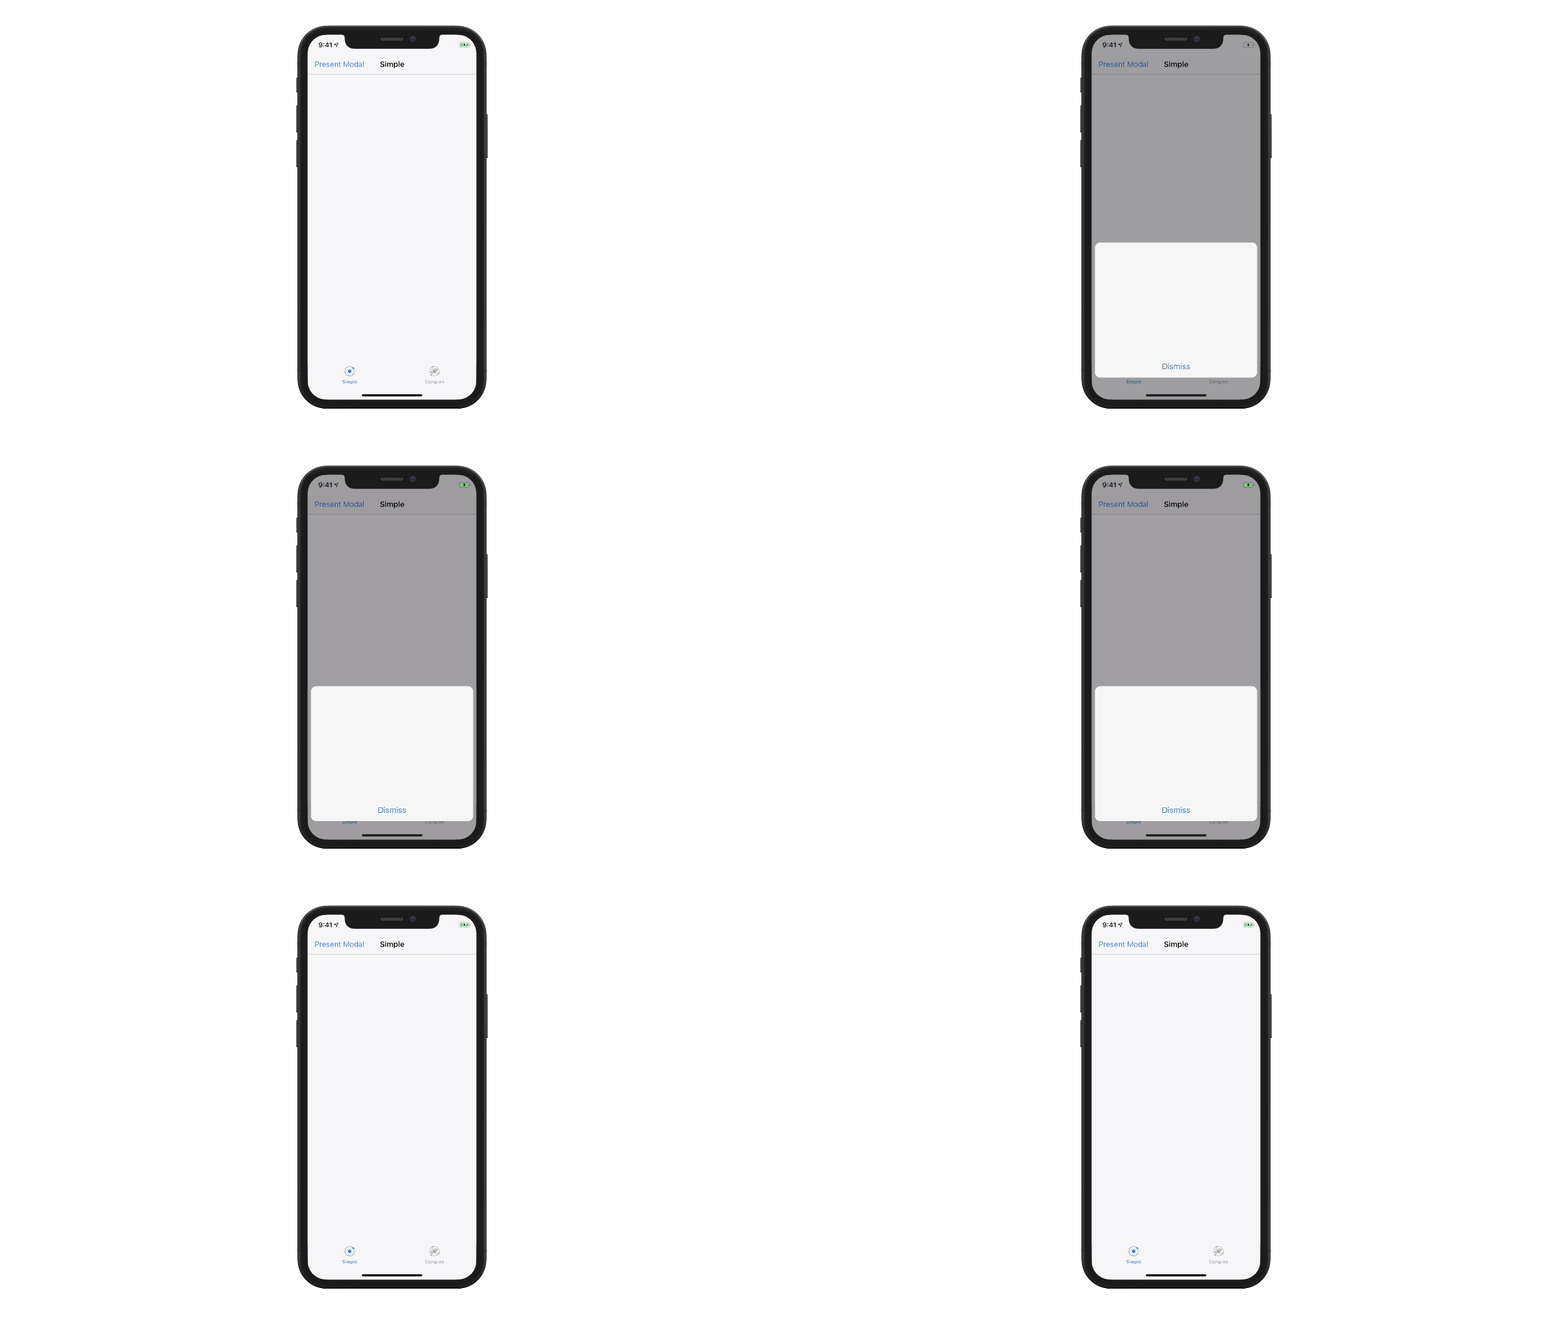
There are two screens in this transition: the photo grid, and the presented modal card. Before Locket’s v1.3 update, I was using a simple crossfade animation, provided by UIKit. It looked like this:

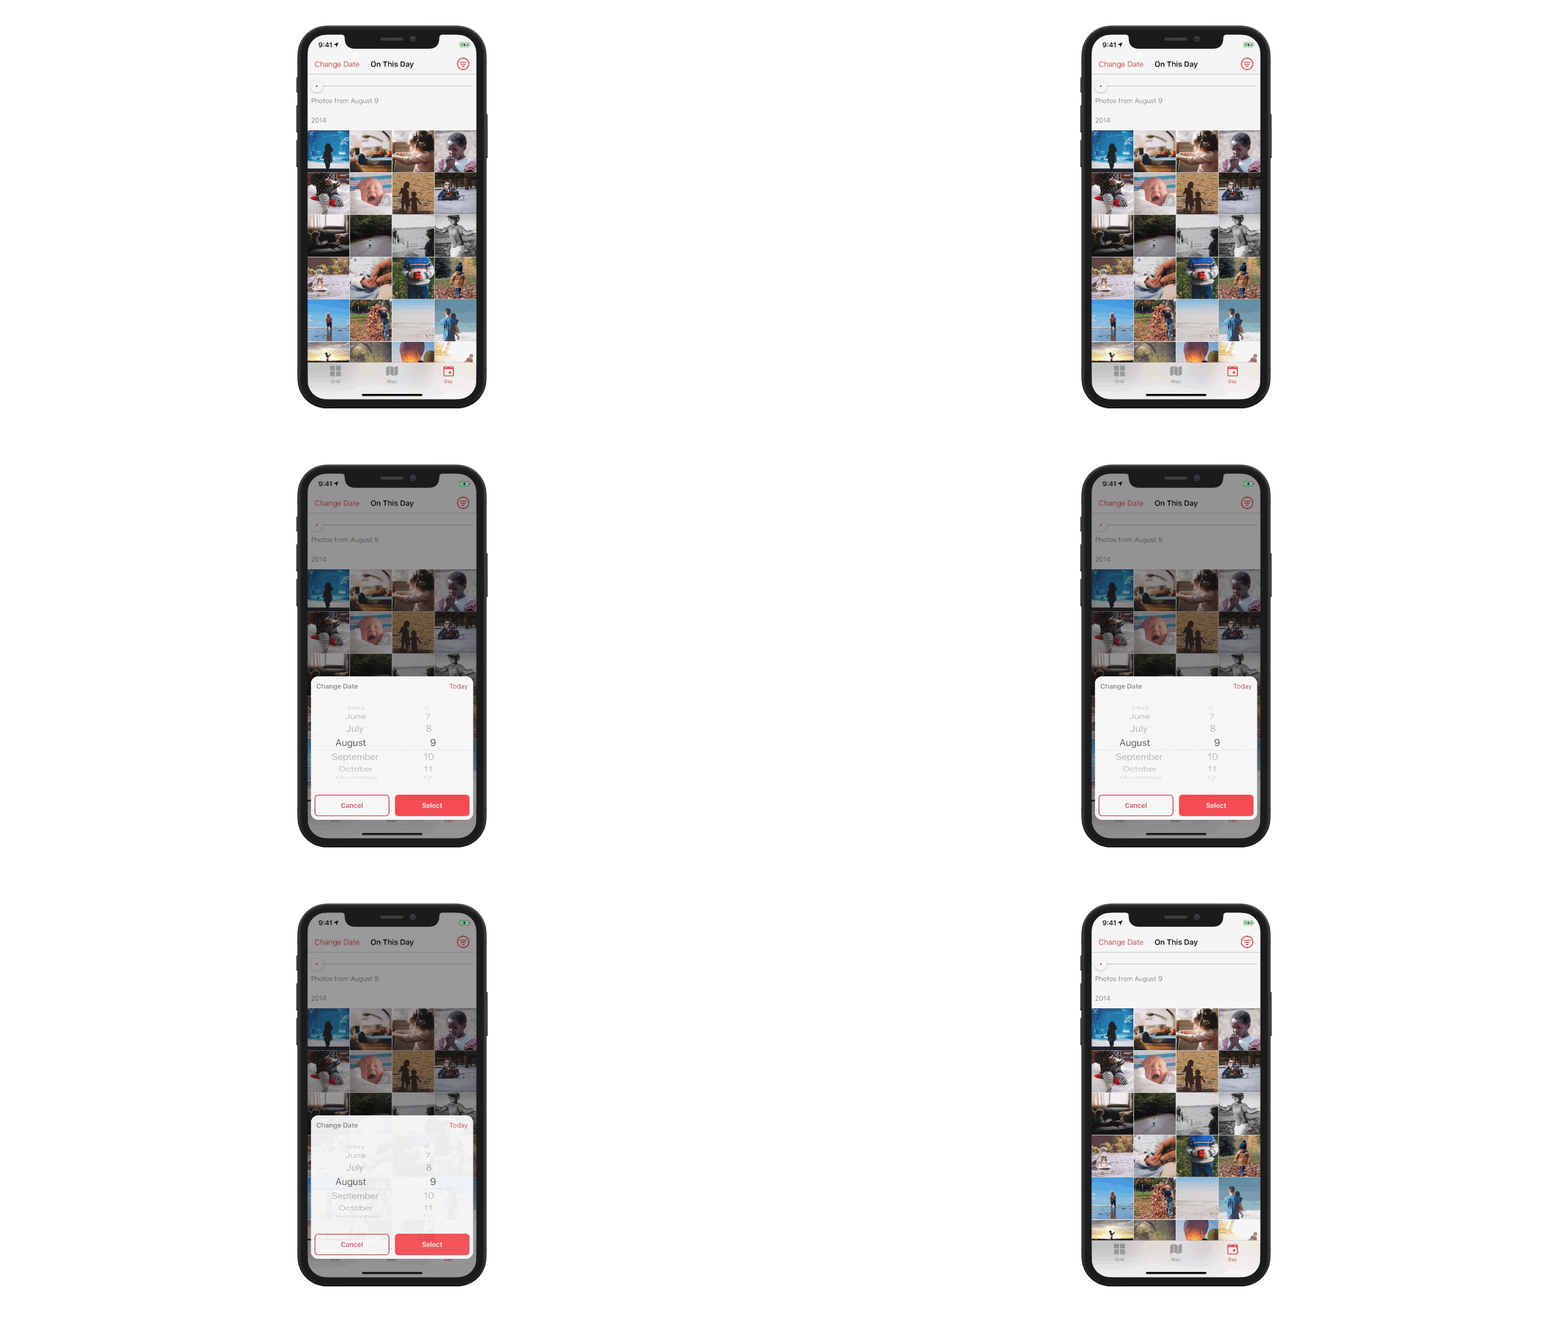
This was… okay, but not something I felt super-proud to ship! What I really wanted was the background to fade in, and the card to rise up from the bottom, with a springy feel. On dismissal, I’d want the reverse to occur, with a different animation timing. Here’s what shipped in v1.3:

Composing the Animation
Remember our diagram from last time? Let’s build it!

We’re presenting a modal screen, and we want to customize the animation. The presenting screen doesn’t need to know anything about this custom animation - the modal will handle all of that internally! 1
In our presenting screen, we call this:
let modalCard = ModalCardViewController()
self.present(modalCard, animated: true, completion: nil)
…and the rest is all handled by our ModalCardViewController!
public class ModalCardViewController: UIViewController {
  init() {
      //...
      self.transitioningDelegate = self
  }
}
Next, let’s extend ModalCardViewController so it conforms to our animation protocols: UIViewControllerTransitioningDelegate and UIViewControllerAnimatedTransitioning.
Note: Today, we’ll be building these protocol conformances directly into the view controller. Yes, the architecture would be cleaner to break them out into a separate class, perhaps called “ModalAnimationController”. However: I’m intentionally keeping everything in one place, to simplify this introductory example. In the more-complex implementation later in this series, we’ll break these animation protocol conformances out into separate classes.) 2
UIViewControllerTransitioningDelegate
First, we need to implement UIViewControllerTransitioningDelegate (i.e. “the vending machine that dispenses navigation animations”). We’ll need to vend an animation controller for the presentation and dismissal transitions.
extension ModalCardViewController: UIViewControllerTransitioningDelegate {
  public func animationController(forPresented presented: UIViewController, presenting: UIViewController, source: UIViewController) -> UIViewControllerAnimatedTransitioning? {
    let result = (presented == self) ? self : nil
    result?.currentModalTransitionType = .presentation
    return result
  }

  public func animationController(forDismissed dismissed: UIViewController) -> UIViewControllerAnimatedTransitioning? {
    let result = (dismissed == self) ? self : nil
    result?.currentModalTransitionType = .dismissal
    return result
  }
}
(You’ll note that in this code, I’m setting a currentModalTransitionType on my presented view controller — this is a little enum I’ve defined, to aid in simplifying the process of figuring out which animation to run for a given transition.3)
…and now, all that’s left is to write out the animation code itself!
A recommendation for UIViewPropertyAnimator
Here’s another big thing that helps with animation transitions: UIViewPropertyAnimator, introduced in iOS 10. Keith Harrison has a great write-up on property animators.
Here’s why I recommend this API: I believe that UIViewPropertyAnimator makes it far easier to build non-trivial custom navigation transitions:
- it simplifies coordination of animations in disparate areas of your code, via
UIViewPropertyAnimator.addAnimations(_), - you can modify, cancel, and reverse the animation, which is essential for interactive, gesture-driven transitions,
- timing parameters are easier to define and use.
One of the hardest parts (for me at least!) in building out complex navigation transitions is keeping my code properly scoped: I prefer to keep my subviews private or fileprivate, and UIViewPropertyAnimator makes it much easier to keep ‘em that way. When I’m able to build animations while keeping the guts of my views private, I’m much happier with the process and the finished product.
For today’s implementation, we could just-as-easily use UIView.animateWithDuration, but instead, let’s practice using UIViewPropertyAnimator, so it’s not scary when we see it next time!
Writing the animations
Let’s implement the second protocol, UIViewControllerAnimatedTransitioning (i.e. “the dang animation itself”). We’ll write out these animations with UIViewPropertyAnimator, as recommended above!
We want the background to fade in, and the card to slide up from the bottom — and the reverse when the modal is dismissed. The only thing that differs between presentation and dismissal are the animations’ timing curves — the rest of the code can be shared between the two! Here’s the animation code:
extension ModalCardViewController: UIViewControllerAnimatedTransitioning {
  private var transitionDuration: TimeInterval {
    guard let transitionType = self.currentModalTransitionType else { fatalError() }
    switch transitionType {
    case .presentation:
      return 0.44
    case .dismissal:
      return 0.32
    }
  }

  public func transitionDuration(
    using transitionContext: UIViewControllerContextTransitioning?
  ) -> TimeInterval {
    return transitionDuration
  }

  public func animateTransition(using transitionContext: UIViewControllerContextTransitioning) {
    guard let transitionType = self.currentModalTransitionType else { fatalError() }

    // Here's the state we'd be in when the card is offscreen
    let cardOffscreenState = {
      let offscreenY = self.view.bounds.height - self.cardView.frame.minY + 20
      self.cardView.transform = CGAffineTransform.identity.translatedBy(x: 0, y: offscreenY)
      self.view.backgroundColor = .clear
    }

    // ...and here's the state of things when the card is onscreen.
    let presentedState = {
      self.cardView.transform = CGAffineTransform.identity
      self.view.backgroundColor = ModalCardViewController.overlayBackgroundColor
    }

    // We want different animation timing, based on whether we're presenting or dismissing.
    let animator: UIViewPropertyAnimator
    switch transitionType {
    case .presentation:
      animator = UIViewPropertyAnimator(duration: transitionDuration, dampingRatio: 0.82)
    case .dismissal:
      animator = UIViewPropertyAnimator(duration: transitionDuration, curve: UIView.AnimationCurve.easeIn)
    }

    switch transitionType {
    case .presentation:
      // We need to add the modal to the view hierarchy,
      // and perform the animation.
      let toView = transitionContext.view(forKey: .to)!
      UIView.performWithoutAnimation(cardOffscreenState)
      transitionContext.containerView.addSubview(toView)
      animator.addAnimations(presentedState)
    case .dismissal:
      // The modal is already in the view hierarchy,
      // so we just perform the animation.
      animator.addAnimations(cardOffscreenState)
    }

    // When the animation finishes,
    // we tell the system that the animation has completed,
    // and clear out our transition type.
    animator.addCompletion { _ in
      transitionContext.completeTransition(true)
      self.currentModalTransitionType = nil
    }

    // ... and here's where we kick off the animation:
    animator.startAnimation()
  }
}
Hand-tuning the animations
To make animations truly wonderful, you’ve got to hand-tune ‘em on-device. Animations that look great on your laptop often feel too slow when in-hand.
For this reason, I highly recommend using a tool like SwiftTweaks (or for my Obj-C peeps out there, Facebook’s original Tweaks tool).
The finished product
Today, we’ve composed our very first custom navigation animation - nice work! 🥳
We built a self-contained modal presentation animation (and the dismissal animation), hand-tuned ‘em on-device using SwiftTweaks, and everything’s composed in a way that keeps our modal’s subviews private and/or fileprivate . We also learned why UIViewPropertyAnimator is a really great tool for custom navigation transitions.
You can download the full source code here, or just read the ModalCardViewController’s implementation!
What’s next?
There are two more posts in this series. Next, we build out a complex, non-interactive push/pop animation, like the one in the Photos app, with all the trimmings and little details you’d want in a polished implementation. Then, in the last post, we’ll build Photos’ interactive drag-to-dismiss transition.
-
This is kinda like how
UIAlertControllerhandles its own animated transitions — you just present it from your code, and it handles the animations! ↩ -
Think of it like building a
UITableView: sure, you can (and often should!) break outUITableViewDelegateandUITableViewDataSourcefrom the table’s view controller — but you and I both know that it’s often completely fine to start by building them in the view controller’s code, unless-and-until we feel it’s in need of a refactor! 😘 ↩ -
This is like a modal-animation-transition version of
UINavigationController.Operation. ↩